Nyarch Linux Build
Welcome to the Nyarch Linux MT build page.
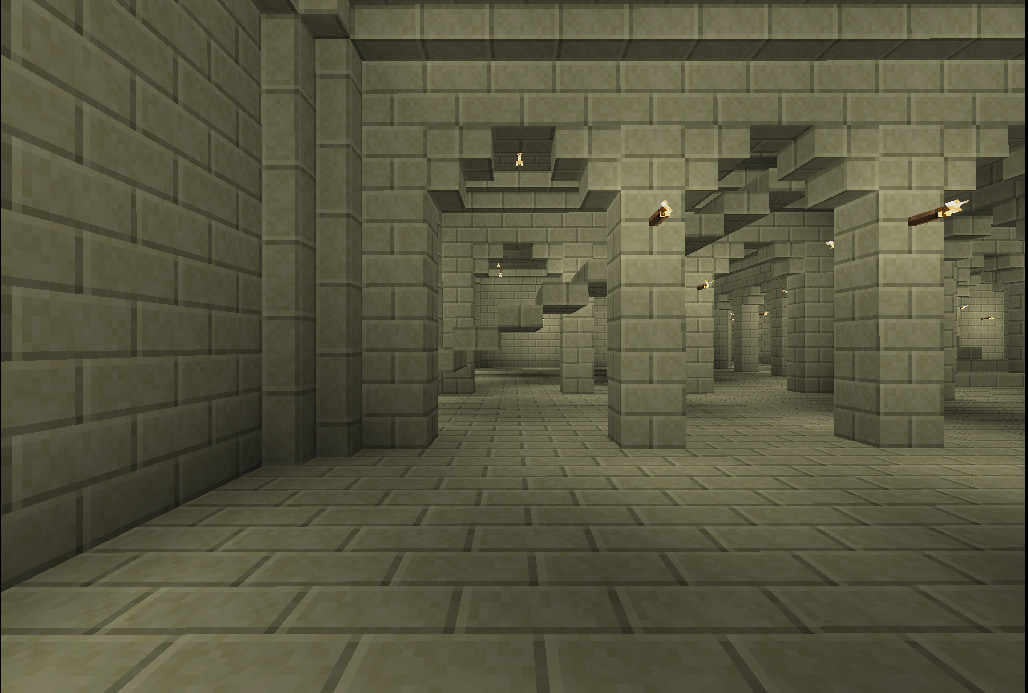
Final MT builds and runs without problems so far under Nyarch Linux. This is the Bucket City castle spawn point in Nyarch MT:
On September 07, 2024, OldCoder built a Final MT server and client for Nyarch Linux 24.04 (Magic Neko). This page explains how he did it. It should work the same way for most Linux distros based on Arch.
The Old Coder says:
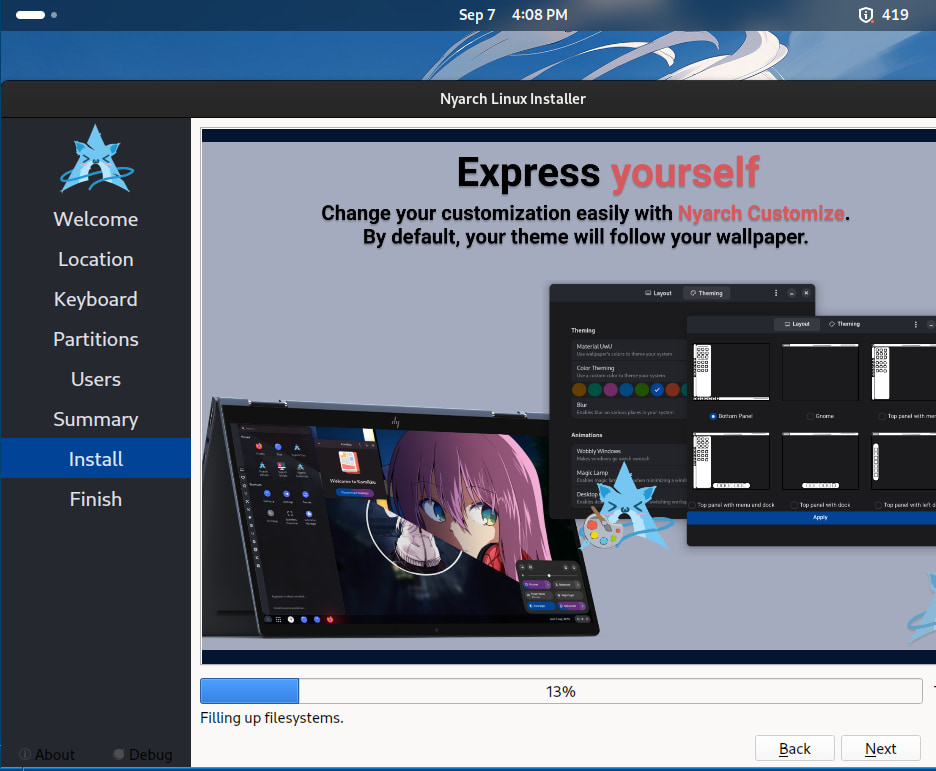
S01. First, I installed Nyarch 24.04, Magic Neko, in a QEMU VM. You'd probably use a regular PC. If you're not interested in QEMU, you can ignore this part.
To create the QEMU HD, I did this on a host box:
qemu-img create -f qcow2 disk.qcow2 32G
Note: 32GB is a minimum. 64GB is advisable.
To boot the Nyarch install ISO file, I did this in the same place:
qemu-system-x86_64 \
-enable-kvm -m 8G -smp 4 \
-hda disk.qcow2 -boot menu=on -cdrom distro.iso \
-netdev \
user,id=net0,net=192.168.0.0/24,dhcpstart=192.168.0.9 \
-device virtio-net-pci,netdev=net0 \
-vga qxl -device AC97
Note: The "-m" and "-smp" settings used here assume that the host box has pretty good hardware.
"distro.iso" was a symlink to the Nyarch install ISO file.
The install took 9 minutes.
Note: The password for the "live" account used by the install ISO file is "live". You'll need to know this in order to get out of screen-lock mode.
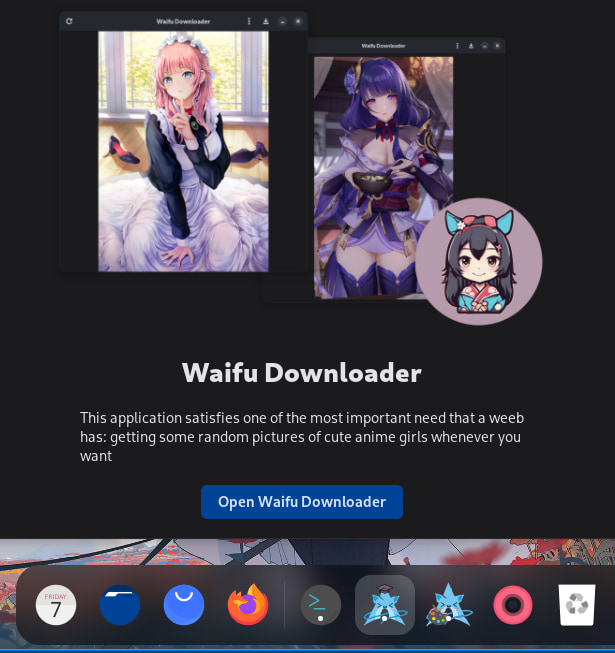
S02. I booted Nyarch from the [emulated] HD. "weeb" accomplished:
S03. I started a terminal session and switched to superuser mode:
sudo bash
S04. I changed the terminal preferences to make the text more readable.
S05. Execute these commands. It's recommended that you Copy-Paste instead of typing.
       # Install a few basic tools
pacman -Sy
pacman -Sy htop lynx nano rlwrap wget
       # Add a Linux user named "minebest"
useradd -m -G users -s /bin/bash minebest
#
cd     # Go to $HOME
       # Download Linux Minetest Kit
wget https://minetest.org/linux-minetest-kit.zip
#
# Warning: The code block below deletes any existing
# copy of "/opt/minebest".
#
       # Create and go to "/opt/minebest" directory
rm -fr   /opt/minebest
mkdir -p /opt/minebest
cd       /opt/minebest
#
       # Unpack the Linux MT kit in "/opt/minebest"
unzip -q $HOME/linux-minetest-kit.zip
       # Rename the folder
mv linux-minetest-kit mtkit
S06. Execute the following commands. It's recommended that you Copy-Paste instead of typing. Important: Note the space period at the end of the third command.
cd /opt/minebest/
rm -fr mtbin
cp -a mtkit/mtsrc/mtbin/ .
mkdir -p log mtworlds tmp
S07. Install dependencies. To do this, execute the following command:
bash /opt/minebest/mtkit/builddeps.sh
Under Arch or Nyarch, you'll see two warning messages about "libstdc++5" and "python2" not found. You can ignore those two messages.
The script may or may not pause to ask you for timezone information.
S08. Use your favorite text editor to edit the following text file:
/root/.bashrc
A text editor means nano, vi, vim, or similar. LibreOffice or other word processors will not work. Learn how to use text editors for this type of project.
Add the line below to the end of the file "/root/.bashrc":
PATH=/opt/minebest/mtbin:$PATH
Save the file and exit.
S09. Close the terminal session. Open another terminal session. Become superuser in the new terminal session:
sudo bash
S10. This is the point where we'll do the first actual code building.
Execute the following commands. Allow perhaps 15 to 30 minutes. It's recommended that you Copy-Paste instead of typing.
touch -a /usr/include/sys/sysctl.h
cd /opt/minebest/mtkit/
rm -fr toolstree
bash -e mtcompile-libraries.sh build
To explain one point, the "touch -a" command creates a required file if it's missing.
There may be a number of compiler warning messages. They're not important as long as the entire process finishes.
If the last output line printed is "Done", it worked. If the last line isn't "Done", it didn't work.
S11. If it worked, the new directory indicated below should now exist:
/opt/minebest/mtkit/toolstree/
That directory contains support programs and libraries.
S12. In the next step, you'll build two MT programs, a server and a client.
The MT server will support most MT4 or MT5 clients. Either type. So, you'll be able to use an MT app on your phone if you like. Or you can run the MT client under Nyarch.
In theory, the server will also let anybody on the Internet come to build. In practice, if you're doing this on a home machine, only people who are in your LAN will be able to visit.
Some people use something called "port forwarding" to get around that last issue. This lets them run a public server from home. However, if you'd like to run a public server, it's better to get a VPS.
A good VPS can be rented from the right place for $6.00 USD per month. But be choosy about hosts. Read reviews. For the distro on a VPS, use Debian 11.
S13. Execute the following commands. Allow perhaps 15 to 30 minutes. It's recommended that you Copy-Paste instead of typing.
cd /opt/minebest/mtkit/
perl mtcompile-program.pl --build --server --client --finetest
chown -R minebest.users /opt/minebest/
If the last output line printed by the "perl" command is "Done", it worked. If the last line isn't "Done", it didn't work.
S14. If it worked, you can now start worlds in two different ways.
One way is to run the client. It includes three prebuilt worlds and will create more for you. To start the client, run this command as an ordinary user:
/opt/minebest/mtkit/minetest/bin/finetest &
If you don't get sound, try this command instead:
padsp /opt/minebest/mtkit/minetest/bin/finetest &
You can, of course, use a desktop shortcut or a one-line shell script to avoid needing to type all of that.
Another way to start worlds is to use a set of world management scripts that we've provided.
If this is going to be a public server, you'll want to use the world management scripts. They'll allow you to run multiple worlds at once and to control the worlds with less work.
The world management scripts will be documented separately.
S15. To be documented:
By default, the MT client uses the usual letter keys to move your character. You can switch that to arrow keys or number pad arrow keys instead.


